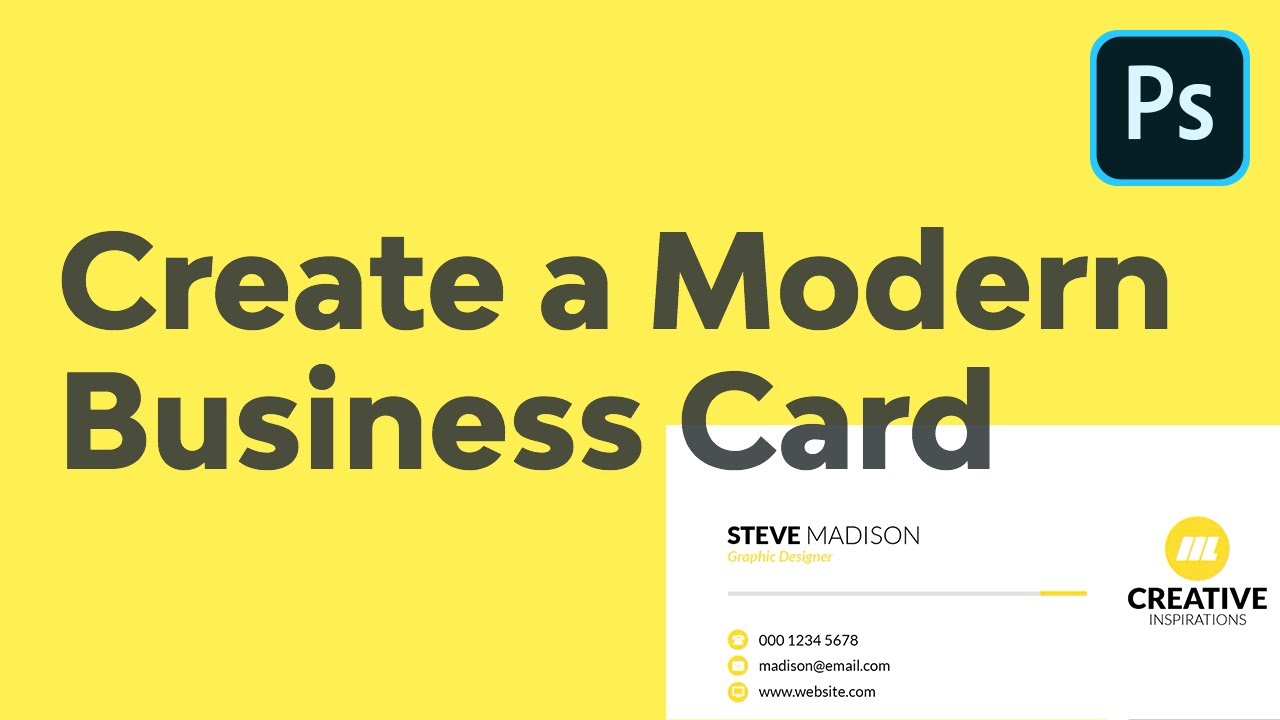
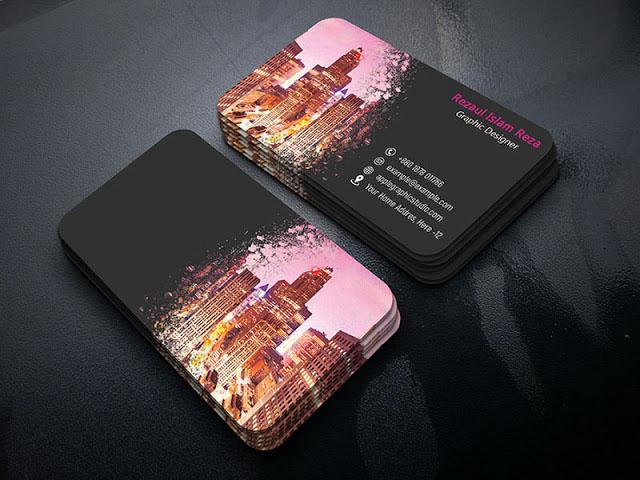
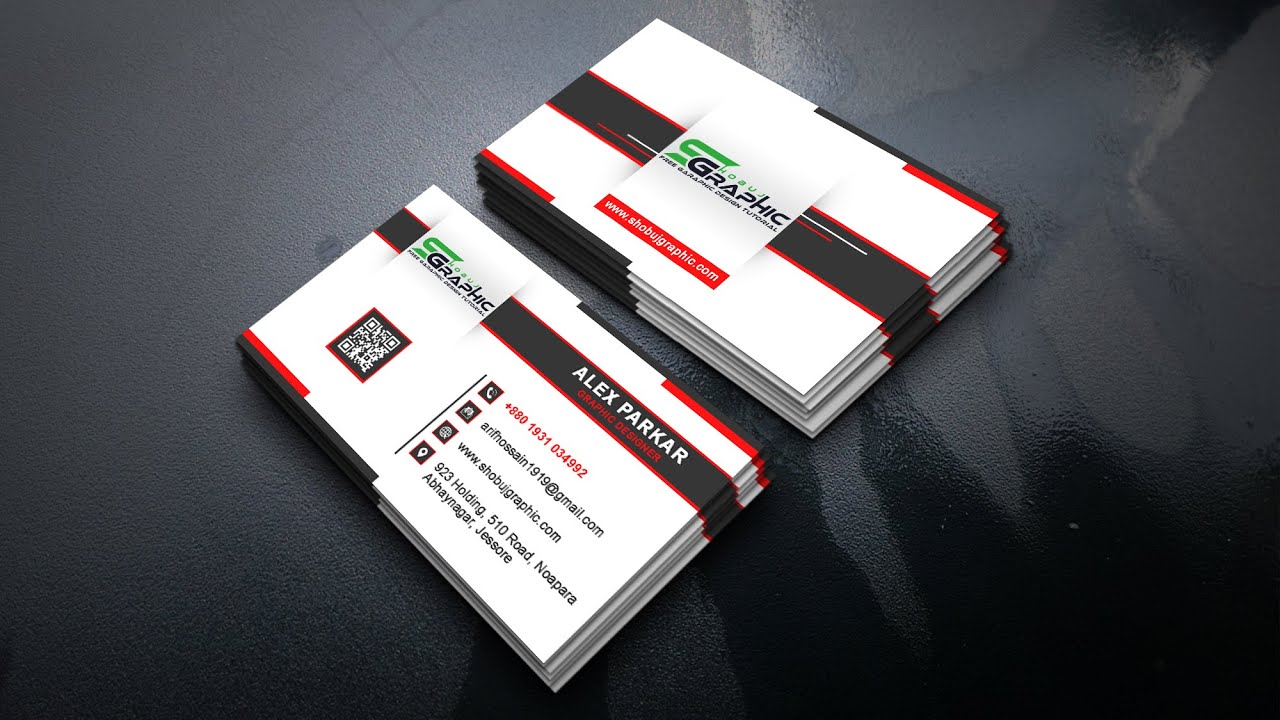
There are several different ways to design a business card. One way is by using a template. If you’re not sure what to include, you can find tutorials online that teach you the basics. In this tutorial, you will learn how to add a photo and text. You’ll also learn how to create a layered PSD file and use it to save your design. Here are some tips to make the process go faster:
25 different tutorials teach the essentials of business card design
Creating a business card is a fairly simple process, but some people find designing for print intimidating. To get started, here are 25 different Photoshop tutorials for business card design. These tutorials are helpful for any skill level and can help you create a professional-looking card. If you’re new to Photoshop, you can start by viewing a free tutorial online. You can also find dozens of other useful business card tutorials on the internet.
Adding a photo
Adding a photo to a business-card design is relatively easy to do, especially if you have a good quality picture editor. You can start by choosing the size and theme of your card. Next, you should select the logo you wish to put on the card. A vector-based logo is usually preferable, but you can also use a picture file if it is of high resolution. Just make sure that it does not distort or lose quality. Also, make sure that it is as big as possible, so it doesn’t look distorted. You can also scale the image with small boxes in the corners.
Creating a template
When creating a business card template in Photoshop, there are a number of factors that you need to consider. For starters, you need to know what type of file you need, which can vary from one printing company to the next. If your cards have bleeds, you’ll want to set the size of your document to allow for these bleeds. You’ll also want to choose a color mode, which should be CMYK Color, 8-bit. Then, make sure you have set the guides and rulers to be about 5mm from the edge.
Adding text
In photoshop, you can add text to a business card using the Type tool. This tool can be found in the toolbar, and you can use it to type on the canvas. The default type tool is the Horizontal Type Tool. You can also use the Vertical Type Tool, which is available in the context menu. Click anywhere on the canvas to type point text. Type in your company name in this way.
Adding a gradient
In the first step of adding a gradient to a business card, you will need to create a background. To make the background smoother, adjust the location of the color stop. You can either drag it up or down or click the middle point to make the gradient smoother. Then, use the opacity and smoothness controls to set the desired blend location. Once you’ve completed the background, you can move on to the main text.
Adding a stroke layer style
One of the first steps to make a professional-looking business card is adding a stroke layer style to your design. This feature is especially useful for business cards that have multiple sided printing. When designing a business card, it is important to remember that the design should be 3.5 inches by 2 inches, and you need to leave a 1/4-inch margin around the edges, otherwise known as bleed. This margin is not visible on the printed version of the card, so make sure to trim off this margin when preparing the design.


